How to Install Google Analytics on WordPress
We’ve already talked about some of the reasons why WordPress is a brilliant website platform for smaller businesses, and the ease with which you can install Google Analytics tracking is yet another reason why you should seriously consider using WordPress to create and run your website, if you’re not already.
If installing Google Analytics has always been a nightmare for you, follow this easy, pain-free guide below so you can start tracking your customer’s behaviour and optimising your conversion process.
Step 1: Sign up for a Google Analytics account here
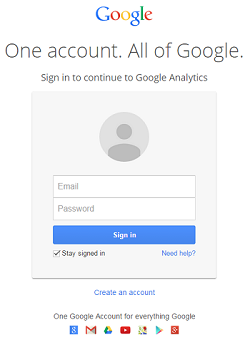
Step 2: Sign in with your Google (gmail) account or sign up for one if you don’t have one already.
Step 3: You will be asked to choose between a website and a mobile app. Choose website.
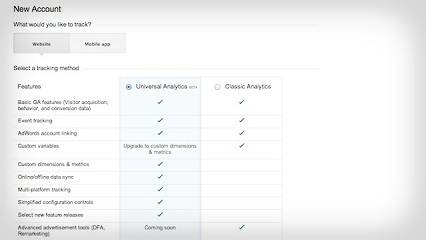
Step 4: You will be asked to choose between the universal analytics model and the classic analytics. We use classic analytics, but they essentially do the same thing, so choose whichever you prefer.
Step 5: Fill out all the required information, such as account name, website name, URL, what industry your website operates in and your time zone.
Step 6: Once you’ve completed these fields, click on the “get tracking ID” button, and agree to the T&Cs.
Step 7: Google will now generate a tracking code. Copy and paste this into your computer’s notepad, or somewhere safe so that you don’t lose it.
Step 8: Go to your WordPress dashboard. There are now a number of methods you can use to install Google Analytics.
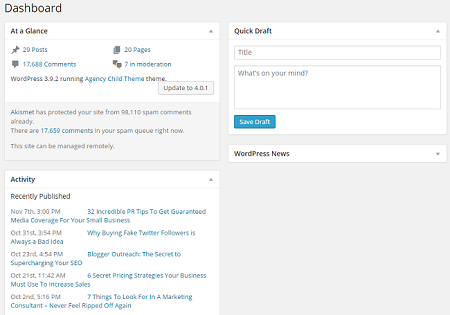
Inserting Google Analytics Tracking Code into Header.php
The easiest way to install the tracking code is to navigate to your header.php section.
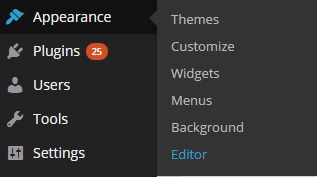
Step 1: Go to appearance
Step 2: Go to editor
Step 3: Find the header.php section and click on it
Step 4: Paste the tracking code right underneath thetag.
Installing Google Analytics via a plug-in
The insert Header and Footer plug-in is a simple add-on which, as the name suggests, allows you to add custom code to your WordPress headers and footer.
Step 1: Install the plug-in
Step 2: Go to the plug-ins settings page
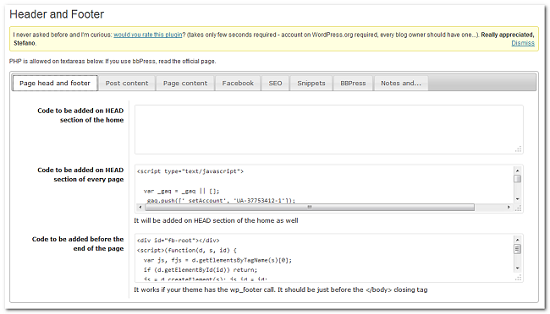
Step 3: Paste your Google Analytics tracking code into the header section
Step 4: Save
How to Install Google Analytics On Your Website
Installing Google Analytics tracking codes on your own website can be a lot trickier than installing it on WordPress. You need to have access to your websites source code, and unless you’re very confident with coding, we strongly suggest you get a web developer to help you.
You can find comprehensive instructions on how to install Google Analytics on your non-WordPress or CMS run website here.
Connect to Your Google Webmaster Tools Account
Alongside Analytics, Google’s Webmasters Tools is a great tool which allows you to track your search engine rankings, how many links point to your site, and what keywords people use to find you, as well as many other things.
Connect to a WordPress Site
Step 1: Use your gmail account to sign in to Webmaster Tools and add your website’s URL.
Step 2: On the next screen, you’ll give given some options to verify that you own the website. Clicking on “Alternate Method” will give you a meta tag. Copy this and paste it in a notepad or somewhere similar.
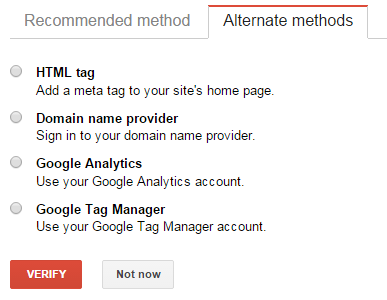
Step 3: If you haven’t already, download the “Insert Header and Footer” plug-in we mentioned above.
Step 4: Paste the meta-tag into the header section and save it.
Step 5: Go back to your Google Webmasters account and click “Verify Website”
Connect to a Website
To do this, you will need access to, and know how to use, an FTP client. If you have no idea what I’m carping on about, ask your web developer to do this for you.
Step 1: Use your gmail account to sign in to Webmaster Tools and add your website’s URL.
Step 2: On the next screen, you’ll give given some options to verify that you own the website. Choose the upload HTML verification file option.
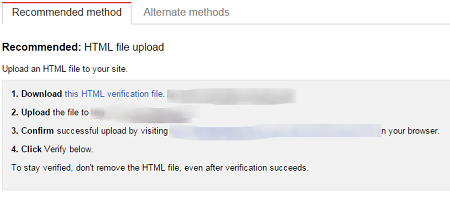
Step 3: Download this file to your computer, in a location that you remember.
Step 4: FTP the file up to the root directory of your website.
Step 5: Go back to Webmasters website and click “Verify Website”
Submit Your XML Sitemap
To get the most out of Webmasters Tools, it is important that you submit your XML sitemap.
The easiest way to do this is to go to this free online service and follow the instructions on their page.
Once you’ve successfully installed Google Analytics on your website, read this blog to learn how to get the most from Google Analytics to boost your conversions and sales.
Discover
The 12 Marketing Secrets of Fast-Growth Companies
Find out what they do to achieve outrageous business success

Get your free copy

 By
By 
Post a Comment
You must be logged in to post a comment.